

How To Change The Spark Plugs On A 2011 Chevy Aveo

Spark Plugs Replacement on a 3rd Gen Prius
My 2012 Prius Four has reached 120,000 miles and symptoms of rough idle, common cold start rattle, decreasing fuel efficiency and sporadic loss in power (especially during acceleration), has get almost a once-a-week routine. I figured it is fourth dimension to replace the spark plugs. I am having major service as recommended by Toyota done to the Prius former this month and figured I'd shell out an extra $50~$100 to accept them supplant the spark plugs at the same time, so I called my dealer and requested a quote. My jaw basically dropped. I was quoted $290 and as a courtesy, the service lady offered $50 off, still $240. I called another dealer that I've been going to since 2012 and was quoted even higher at $368!! There is no manner I am paying ~$300 to accept $40 worth of parts changed so I decided to change information technology myself. After changing the spark plugs, fuel efficiency increased and displaced power from the Prius has returned. Stepping on the gas doesn't feel like the Prius is struggling and no more common cold engine rattle from the Ice during warm up cycle.
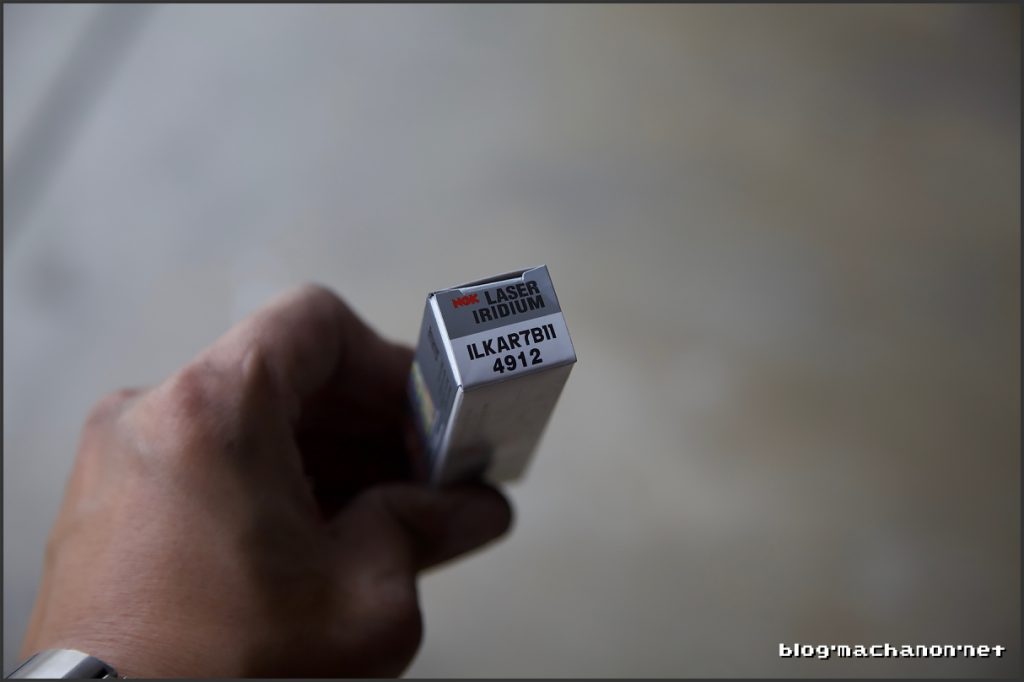
For this project, I used NGK (4912) ILKAR7B11 Laser Iridium Spark Plugs. They are pre-gapped to Prius spec (1.0-ane.ane mm). Depending on where and when you lot buy them, they cost between $9.00 ~ $xi.00 each. You'll need four.
 The entire spark plug replacement procedure costs almost $45 in parts (4 spark plugs, 1 bundle of anti-seize grease) and a bottle of water ice common cold beer. The unabridged process took me exactly an hour and 30 minutes while taking photos.
 I doubtable it would take probably most an hour without all the photographing.
Here's a DIY guide on how to change the spark plugs from your 3rd gen, 2010-2015 Toyota Prius. Exist sure to read the unabridged guide completely earlier attempting.
Tools and Materials Needed
- 9/xvi magnetic spark plug socket
- 14 mm socket
- ten mm socket
- Flathead screwdriver
- Ratchet
- Needle nose pliers
- Anti-seize grease (optional)
- 4x NGK (4912) ILKAR7B11 (4912) Light amplification by stimulated emission of radiation Iridium Spark Plugs. These are pre-gapped.
Windshield Wiper Cowl Removal Instructions
Unremarkably, replacing spark plugs from a 4-cylinder vehicle should take no more than 15 minutes. With the Prius' engine tucked further in closer to the firewall and having the windshield wiper cowl overhanging the area where the ignition coils reside, the cowl must be removed for access clearance. While the steps announced to be complicated, it really isn't and it should have you no more than an 60 minutes to remove the windshield wiper cowl, replace the spark plugs and re-install the windshield wiper cowls. Removing the cowl also allow you lot the opportunity to make clean upwardly any debris eolith, such as dried up leaves and berries, especially if y'all park your machine under trees frequently.
Step one
Let's remove the wiper arms to start. Begin with the commuter side wiper. Remove the the cap at the base of the wiper arm only by pulling it out with your thumb and index finger. Unbolt the xiv mm nut from the driver side wiper and two 14 mm nuts from the rider side wiper. Set basics aside and lift wipers out.


Pace 2
Remove the windshield wiper driver side and rider side end-caps by inserting a Flathead screw driver between the crease and turning clockwise. The end-cap should lift up. Remove and set aside.

Step 3
Remove two push-pin retainer clips from the windshield wiper cowl, ane on the driver side and one at the rider side. Elementary push button the the circumvolve on each pin until the pin is released. Remove the push button-pin retainer clips and fix aside.

Footstep 4
Undo the five clips on the windshield wiper cowl from the windshield motor sub-assembly forth the passenger half side of the vehicle. Y'all can practice this by simply pinching the clips with a needle nose pliers or pushing them with a Flathead screwdriver until they disengage.

 Carefully elevator the cowl out and fix aside.
 I took this opportunity to clean out years of debris trapped on the mesh vent along the passenger side.

Then I gave it a dainty hose down with water.
 This step is optional, of course.
Step 5
Disconnect the windshield wiper motor cablevision by pinching the prune downwardly and pulling out. A pair of needle nose pliers may make this easier.

Undo the windshield wiper motor cable from the wiper motor assembly at the locations marked in yellow. The clip marked in the blood-red circle is removed in one case the wiper motor assembly is removed:

Stride 6
Remove four 10 mm bolts from the wiper motor associates and and then lift the wiper motor assembly off from the wiper motor sub-assembly.
 To practise this, you'll need to slide the wiper motor assembly slightly to your left (at that place is a mounting signal at the back), pull the wiper motor associates towards you lot and elevator out.

 Remove the last clip from underneath the wiper motor associates using a needle nose pliers, then set windshield wiper motor and link assembly aside:

Stride 7
Remove 3 (3) x mm bolts from the cowl body mounting reinforcement bracket and remove bracket:
 Remove ix (ix) 10 mm bolts from the outer cowl superlative panel sub-assembly on the marked locations and set aside. Clear the plastic cable channels from the chassis then carefully elevator the sub-assembly out.
 You may need to lift it out at an bending for clearance. From here, you should have full access to the Prius' ignition coils.


Spark Plug Replacement Instructions
With the windshield wipers, cowl, motor assembly and sub-assembly removed, we at present have full clearance needed to access the spark plugs.
Step ane
Pop out the plastic cylinder head embrace but by lifting it up, the unbolt four 10 mm bolts from the four ignition coils. Unplug the cablevision connector from each ignition coil.


 Step 2
Remove all ignition coils by pull it out of their sockets and set aside.
 Step iii
Using your magnetic 9/16 spark plug socket, remove each spark plugs and set aside.

 Step 4
Add a drop of anti-seize grease to the thread of each new spark plug, re-insert them into their cylinders and hand tighten existence careful non to over-torque (xv lb-ft if non using anti-seize, 13 lb-ft if using anti-seize). Echo for the remaining iii spark plugs.
As jeffreyd00 pointed out in the comment department, these specific NGK plugs do not need anti-seize lubricant as the threads on the spark plugs themselves are plated with anti-corrosive material. I added anti-seize out of habit and dialed the torque down by two lb-ft when torquing.

 Step 5
Re-install the ignition coils and re-connect the ignition coil cables. Replace the engine cover and then re-assemble the motor wiper sub-associates, assembly and cowl in the contrary gild of removal. Enjoy your Prius for another 120,000 miles! I'll write up a DIY guide on replacing the spark plugs from a Prius c one time my wife's car achieve that indicate.


Source: https://blog.machanon.net/2017/12/17/diy-replace-spark-plugs-3rd-gen-prius/
Posted by: huppforgerbours.blogspot.com
0 Response to "How To Change The Spark Plugs On A 2011 Chevy Aveo"
Post a Comment